
Gluten Free Lemon Bars (Bright, Tangy, and Buttery)
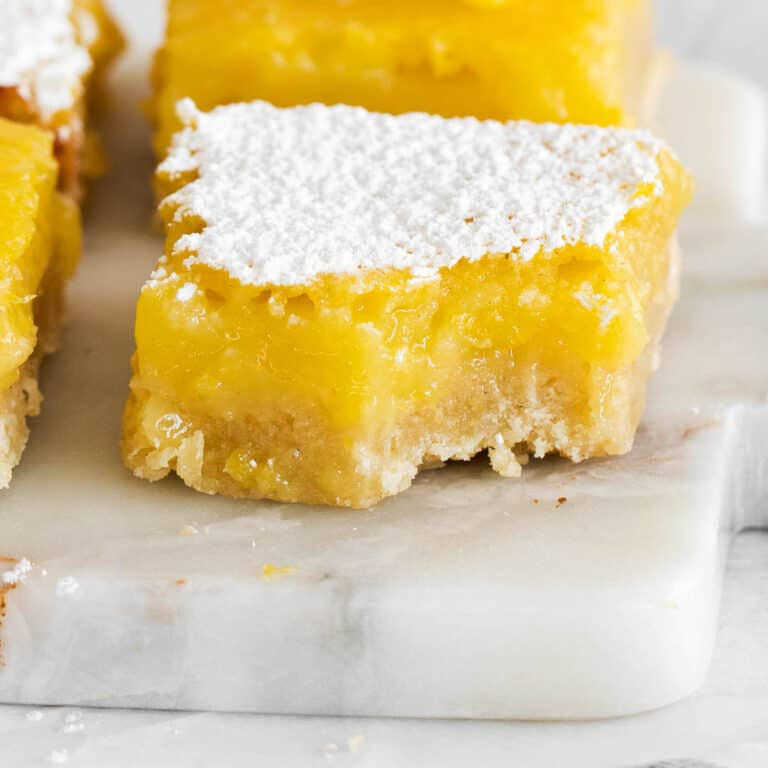
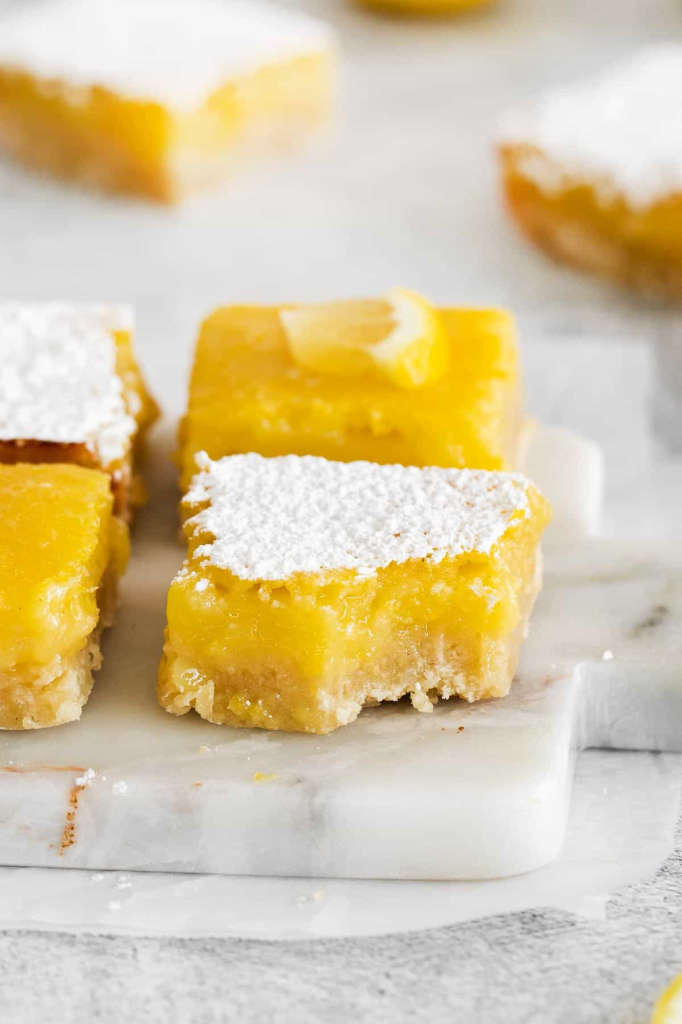
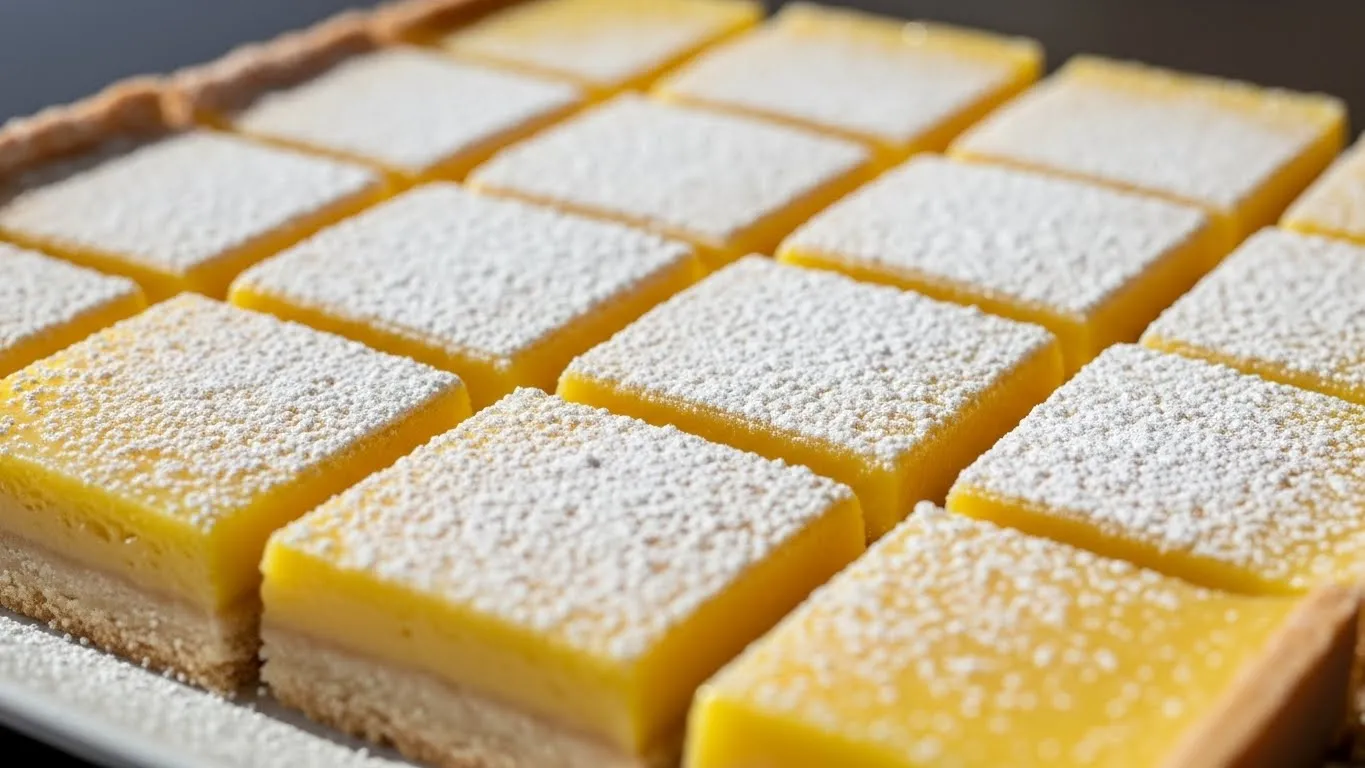
Gluten Free Lemon Bars are all about contrast done right. A buttery, tender shortbread-style crust on the bottom, topped with a bright, tangy lemon filling that’s smooth, creamy, and just sweet enough. When done correctly, they’re refreshing without being sour and indulgent without being heavy.
This recipe is built to avoid the two biggest gluten-free lemon bar problems: crumbly crusts and rubbery fillings. The crust holds together cleanly, the filling sets perfectly, and the lemon flavor actually tastes fresh—not artificial or flat.
Why Gluten Free Lemon Bars Often Fail
Most gluten-free lemon bars fail for structural reasons. The crust either crumbles when sliced, or the filling turns gummy after baking. That usually comes down to the wrong flour blend or incorrect baking order.
This recipe fixes both issues by:
- Using a gluten-free flour blend with xanthan gum
- Fully pre-baking the crust
- Using fresh lemon juice, not bottled
The result is clean slices with a smooth, custard-like center.
Flavor and Texture Expectations
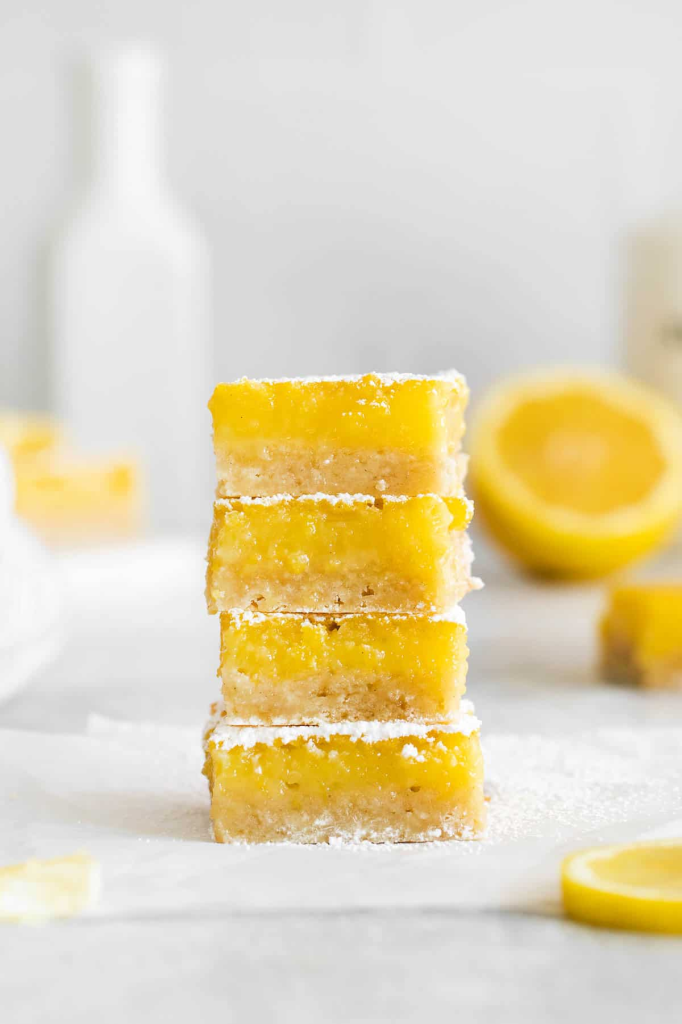
You should expect a bright lemon punch, balanced with sweetness and backed by a rich, buttery base. The crust is firm but tender, never dry. The filling is smooth and creamy, not gelatinous or eggy. Once chilled, the bars slice cleanly and hold their shape—exactly how lemon bars should behave.
Ingredients
Gluten Free Lemon Bars rely on simple baking staples, but precision matters. The crust uses gluten-free flour, butter, and sugar to create a shortbread-style base. The filling uses eggs for structure, fresh lemon juice for flavor, and sugar to balance acidity. Cornstarch helps the filling set without becoming rubbery. Using fresh lemons is non-negotiable here. Bottled juice will flatten the flavor.
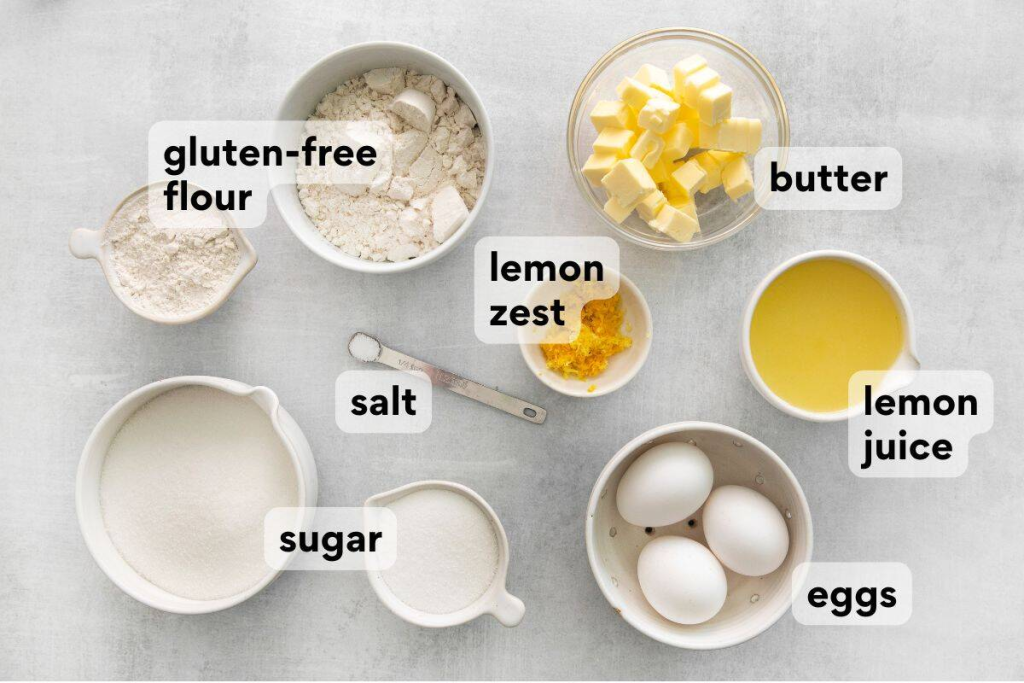
For the Crust
- 1½ cups gluten-free all-purpose flour (with xanthan gum)
- ½ cup unsalted butter, cold and cubed
- ¼ cup granulated sugar
- ¼ teaspoon salt
For the Lemon Filling
- 1 cup granulated sugar
- 3 large eggs
- ½ cup fresh lemon juice
- 1 tablespoon lemon zest
- 2 tablespoons cornstarch
- ¼ teaspoon salt
For Topping
- Powdered sugar, for dusting
How to Make Gluten Free Lemon Bars
Follow these steps carefully—lemon bars are simple, but order matters.
Step 1. Prepare the Pan
Preheat oven to 350°F (175°C). Line an 8×8-inch baking pan with parchment paper, leaving overhang for easy removal.
Step 2. Make the Crust
In a bowl, mix gluten-free flour, sugar, and salt. Cut in cold butter until the mixture resembles coarse crumbs.
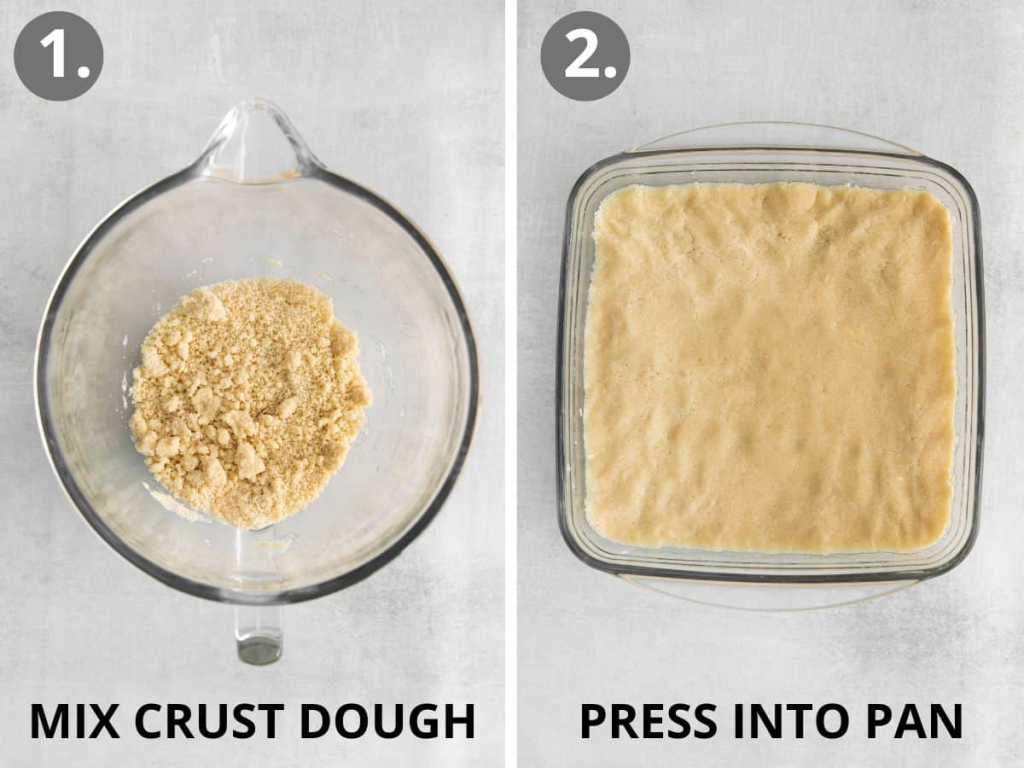
Step 3. Bake the Crust
Press crust mixture firmly into the pan. Bake for 18–20 minutes until lightly golden.
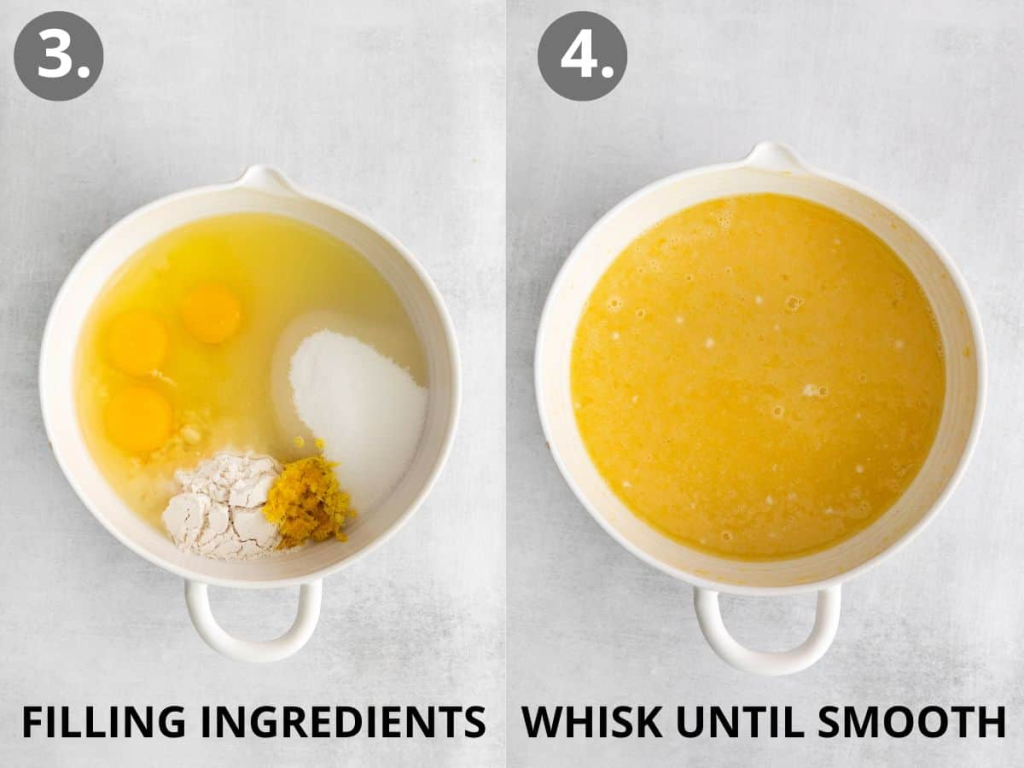
Step 4. Mix the Filling
Whisk sugar, eggs, lemon juice, lemon zest, cornstarch, and salt until smooth.
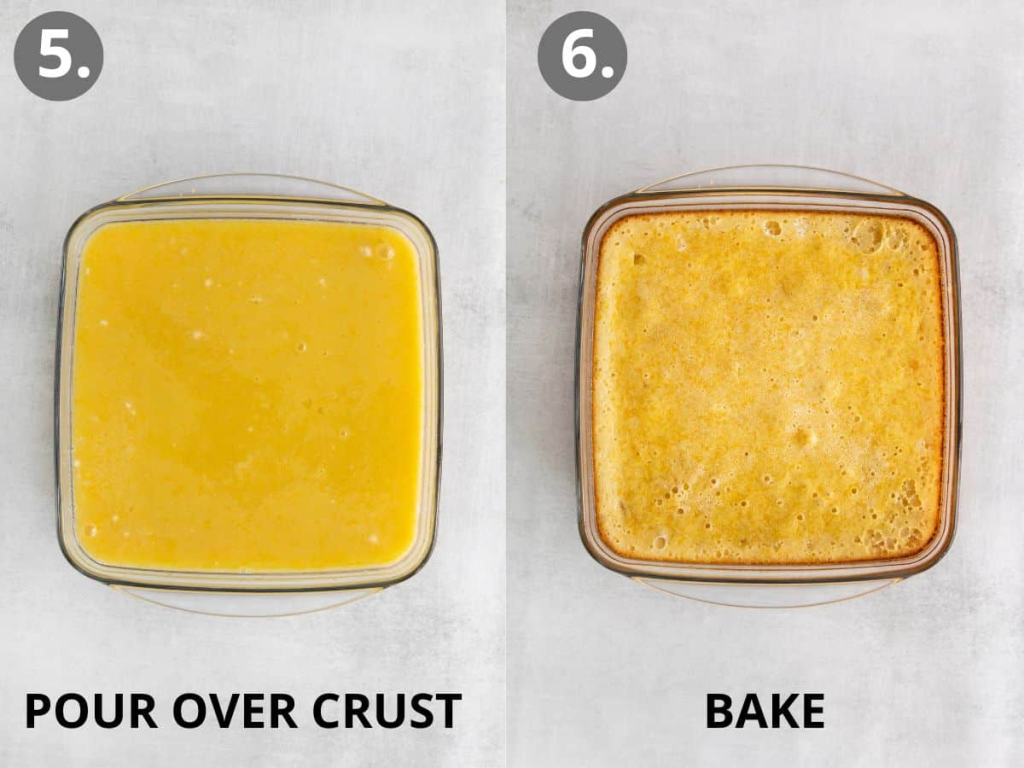
Step 5. Add Filling
Pour filling over the hot crust immediately after removing it from the oven.
Step 6. Bake Again
Return pan to the oven and bake for 22–25 minutes, until the center is just set.
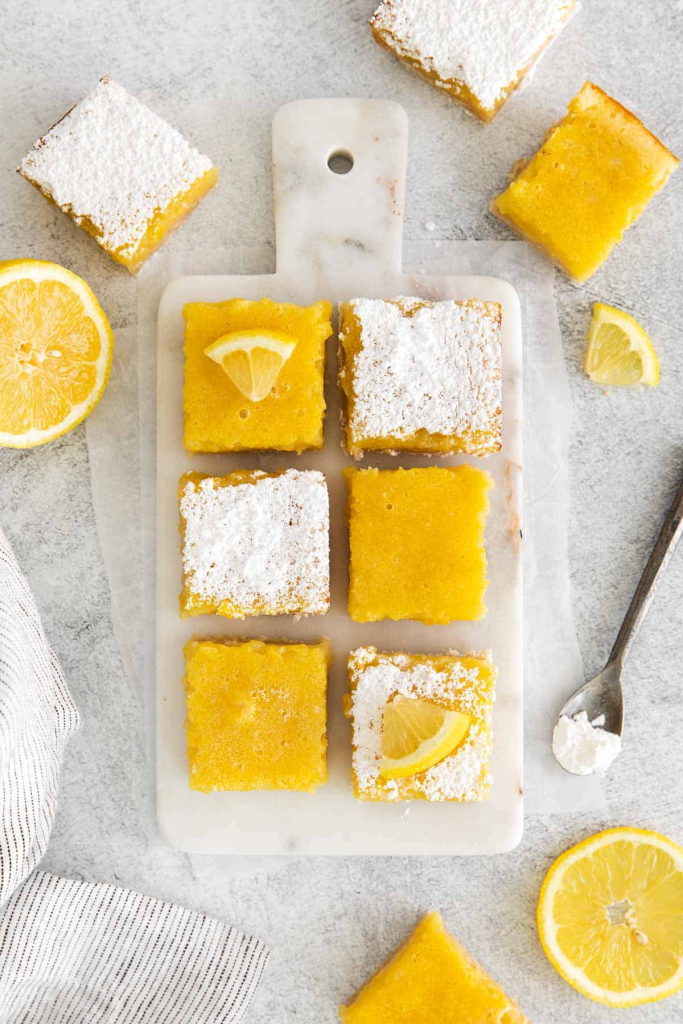
Step 7. Cool Completely
Let bars cool at room temperature, then refrigerate for at least 2 hours before slicing.
Baking Tips That Matter
- Always pour filling onto a hot crust
- Chill fully before cutting
- Use parchment for clean removal
- Don’t overbake—the center should slightly jiggle
These details separate good lemon bars from great ones.
Storage and Make-Ahead Tips
Gluten Free Lemon Bars store well in the refrigerator for up to 5 days. Keep them covered to prevent drying. They also freeze well. Freeze sliced bars in a single layer, then thaw overnight in the refrigerator.
Customization Options
For a stronger lemon flavor, add extra zest. For a slightly sweeter bar, dust generously with powdered sugar before serving. You can also make this dairy-free by using plant-based butter sticks.
FAQs
Can I use almond flour for the crust?
No. Almond flour will make the crust too soft and oily.
Why did my filling crack?
Overbaking is the most common cause.
Do these taste gluten-free?
No. They taste like classic bakery lemon bars.
Can I double the recipe?
Yes. Use a 9×13-inch pan and increase bake time slightly.
Final Thoughts
Gluten Free Lemon Bars should be bright, clean, and satisfying—not fragile or gummy. This recipe delivers sharp lemon flavor, a sturdy buttery crust, and reliable results every time. Once you make these, they’ll become your go-to gluten-free dessert for gatherings and holidays.
Gluten Free Lemon Bars
Ingredients
Equipment
Method
- Preheat oven to 350°F (175°C) and line an 8×8-inch pan with parchment paper.
- In a bowl, mix gluten-free flour, sugar, and salt. Cut in cold butter until crumbly.
- Press mixture firmly into the pan and bake for 18–20 minutes, until lightly golden.
- In another bowl, whisk sugar, eggs, lemon juice, lemon zest, cornstarch, and salt until smooth.
- Pour filling over the hot crust immediately after removing it from the oven.
- Return pan to oven and bake for 22–25 minutes, until the center is just set.
- Cool completely, then refrigerate for at least 2 hours before slicing.
- Dust with powdered sugar before serving.
Video
Notes
- Always use fresh lemon juice
- Do not overbake or filling may crack
- Chill fully before slicing for clean edges
- Store bars refrigerated for best texture