
Gluten Free Mini Quiches (Easy, Fluffy & Perfect for Meal Prep)
If you’re looking for a quick, versatile, and satisfying dish that fits busy mornings or casual gatherings, these Gluten Free Mini Quiches check every box. They’re light yet filling, packed with flavor, and incredibly easy to customize based on what you have in your kitchen.
Unlike traditional quiche, which uses a pastry crust, this version skips the crust entirely—making it naturally gluten free while also saving time. The result is a soft, fluffy, and protein-rich bite that works just as well for breakfast as it does for brunch spreads or party appetizers.
Whether you’re prepping meals for the week or hosting guests, these mini quiches deliver convenience without compromising taste.
Why This Recipe Works
The success of this recipe comes down to simplicity and balance. By removing the crust, the focus shifts entirely to the egg mixture and fillings, allowing flavors to shine without distraction. Eggs act as the structural base, setting into a soft custard as they bake. Adding a small amount of milk creates a lighter, fluffier texture rather than something dense or rubbery.

Pre-cooking vegetables is another key step. It removes excess moisture, ensuring the quiches hold their shape and don’t turn watery. Cheese adds richness and helps bind everything together, creating that slightly creamy interior. Because the mixture is baked in small portions, the cooking time is shorter and more consistent, making this recipe beginner-friendly and reliable.
Taste & Texture
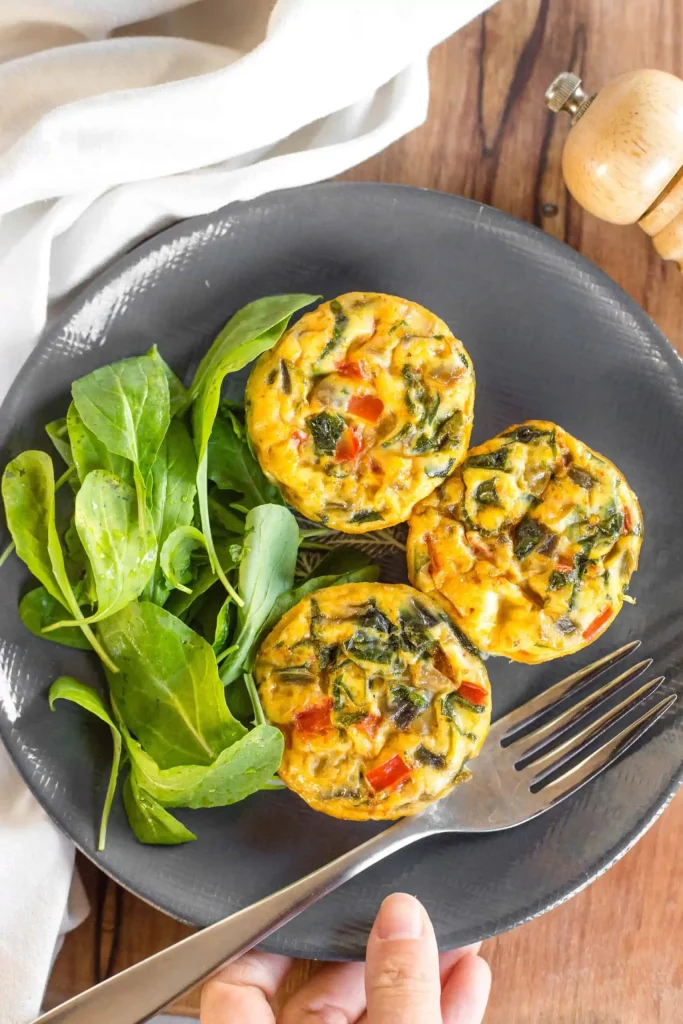
These mini quiches are soft, fluffy, and slightly creamy in the center with lightly golden edges. Each bite delivers a balanced mix of savory egg, melted cheese, and your chosen fillings. The flavor can vary depending on ingredients, but typically you get a mild, comforting base enhanced by the sweetness of vegetables and the richness of cheese or meat.
They’re light enough for breakfast but satisfying enough to keep you full, making them ideal for both quick meals and entertaining.
Ingredients
The beauty of gluten free mini quiches lies in their flexibility. You don’t need many ingredients, but each one plays an important role.
Eggs are the foundation, providing structure and protein. Milk helps soften the texture, making the quiches tender instead of firm.
Cheese adds flavor and richness while also helping the quiches hold together. Vegetables bring freshness, color, and nutritional value, but they need to be prepared correctly to avoid excess moisture.
Optional proteins like bacon or ham add a savory depth, turning these into a more filling meal.
Ingredients List
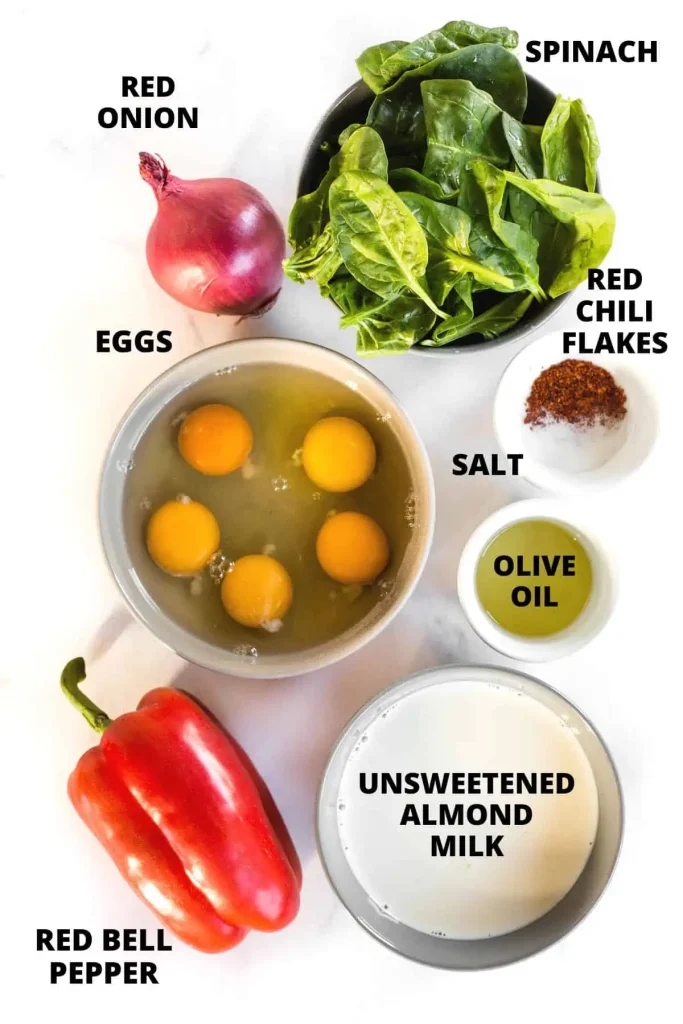
- 6 large eggs
- ¼ cup milk (or dairy-free milk)
- ½ cup shredded cheese (cheddar, mozzarella, or your choice)
- ½ teaspoon salt
- ¼ teaspoon black pepper
Fillings (Customize as desired):
- ½ cup spinach (chopped)
- ¼ cup bell peppers (diced)
- ¼ cup onion (finely chopped)
- ¼ cup cooked bacon or ham (optional)
- 2 tablespoons mushrooms (chopped)
Optional Add-ins:
- ¼ teaspoon garlic powder
- ¼ teaspoon paprika
- Fresh herbs (parsley or chives)
How to Make Gluten Free Mini Quiches
Step-by-Step Instructions
Step 1. Preheat and Prepare Pan
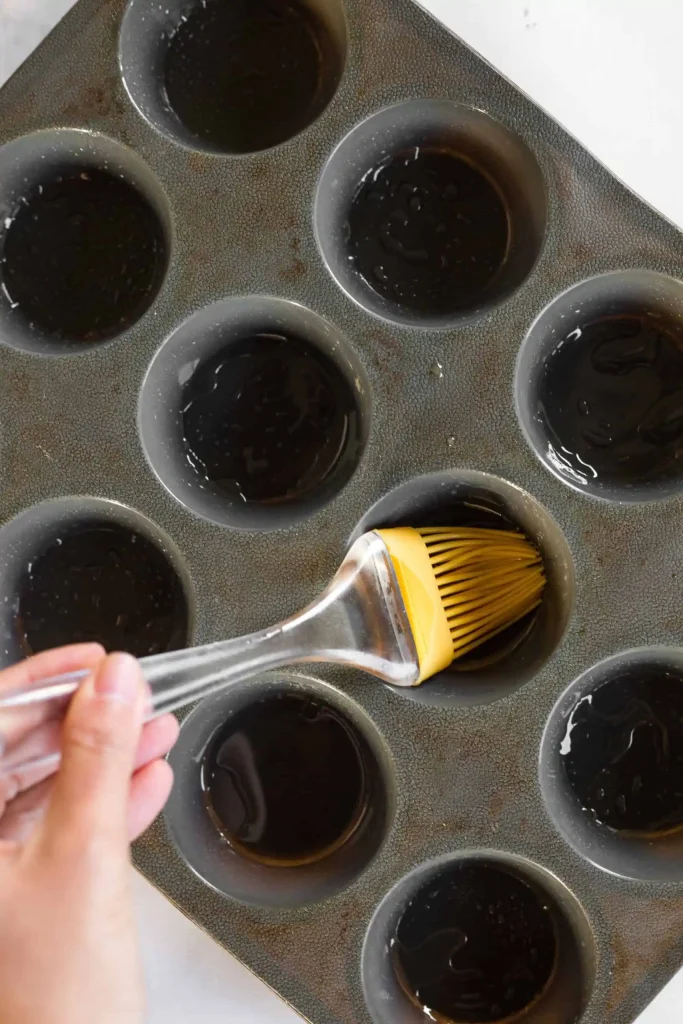
Preheat your oven to 375°F (190°C). Grease a muffin tin thoroughly or use silicone liners to prevent sticking.
Step 2. Prep the Fillings
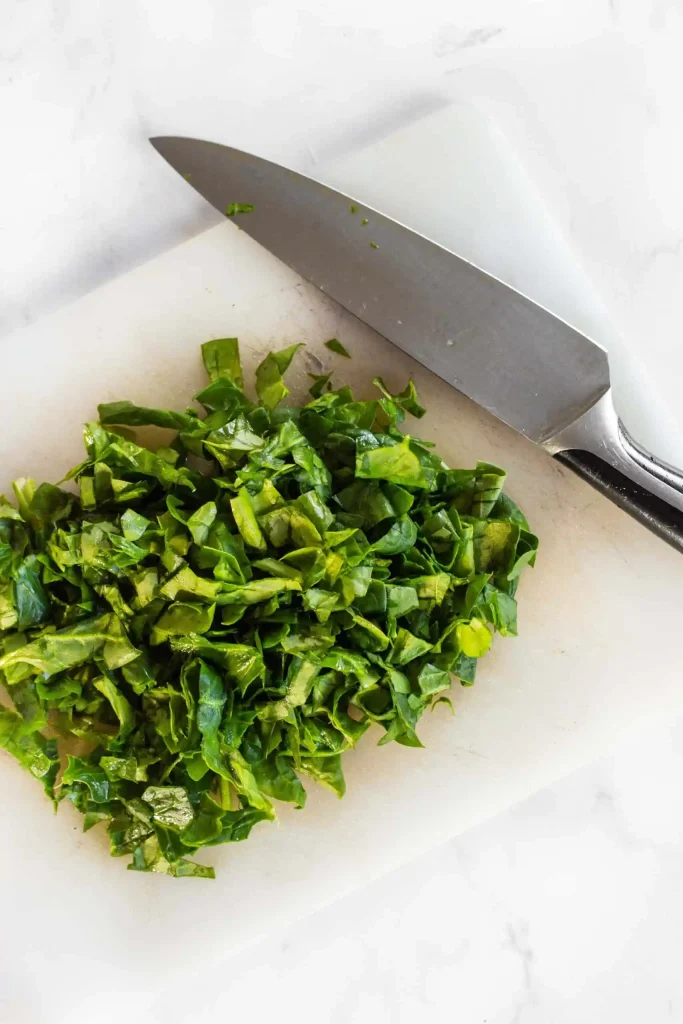
Chop all vegetables into small, even pieces. Cook ingredients like bacon, mushrooms, or spinach beforehand to remove excess moisture and enhance flavor.
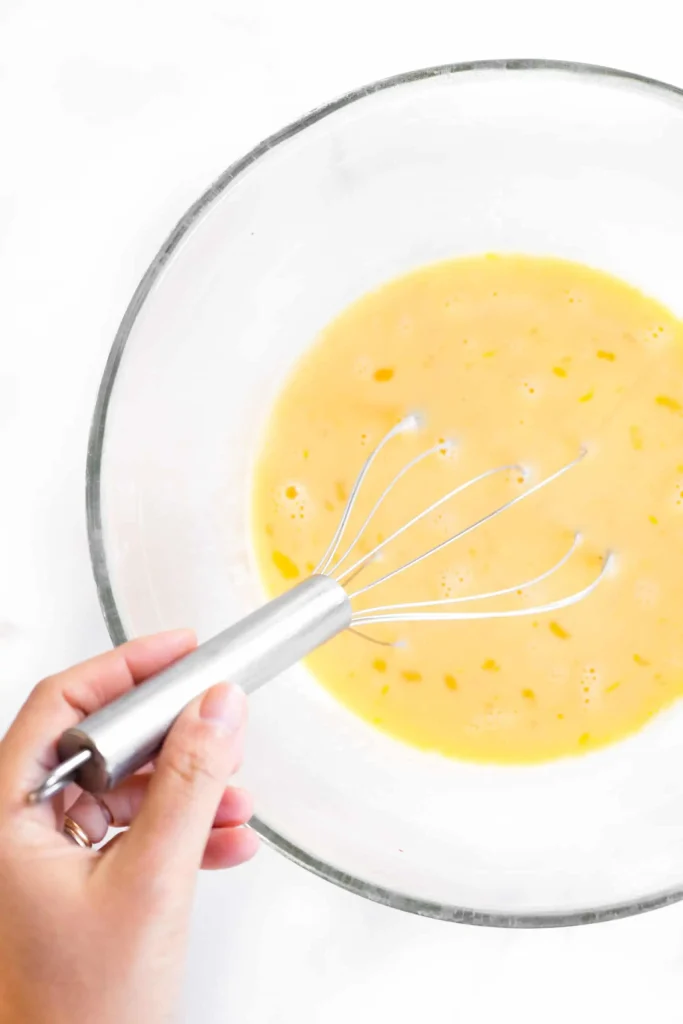
Step 3. Whisk the Egg Base
In a mixing bowl, whisk together eggs, milk, salt, pepper, and any additional seasonings until smooth and slightly frothy.
Step 4. Fill the Muffin Cups
Distribute your fillings evenly into each muffin cup. Avoid overfilling to maintain structure.
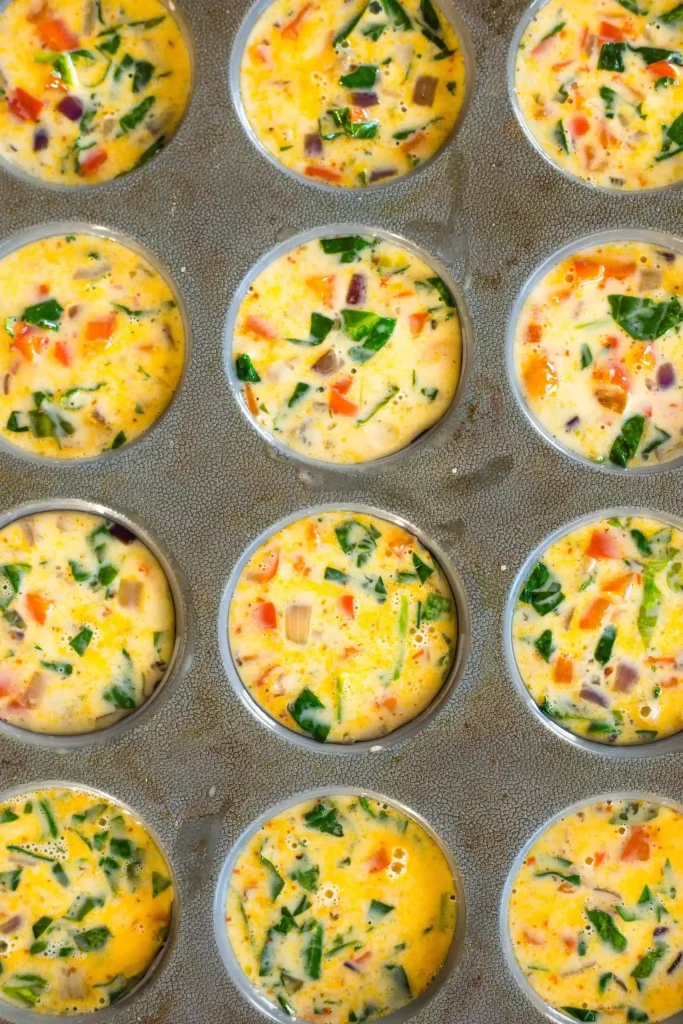
Step 5. Add Egg Mixture
Pour the egg mixture over the fillings, filling each cup about three-quarters full.
Step 6. Add Cheese
Sprinkle shredded cheese on top of each portion for a rich, golden finish.
Step 7. Bake
Place the muffin tin in the oven and bake for 18–22 minutes, or until the centers are set and the tops are lightly golden.
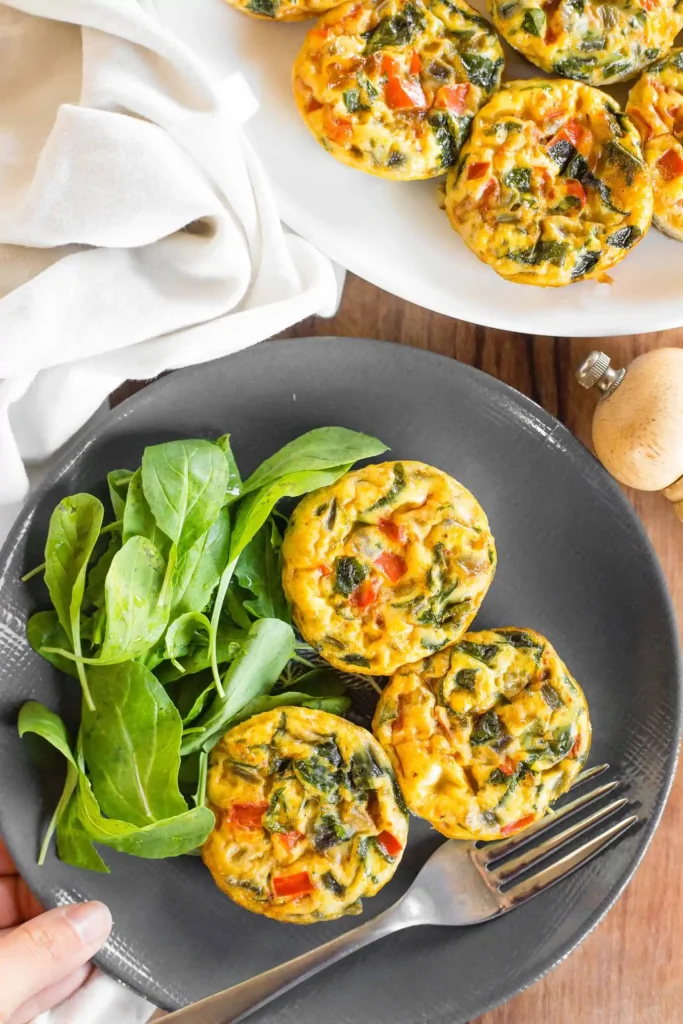
Step 8. Cool and Serve
Allow the quiches to cool for about 5 minutes before removing them from the pan. Serve warm or at room temperature.
Pro Tips
For the best texture, always cook high-moisture vegetables like mushrooms or spinach before adding them to the mixture. This prevents soggy quiches.
Whisking the eggs thoroughly helps incorporate air, resulting in a lighter, fluffier texture.
Avoid overfilling each cup. Keeping the portions balanced ensures even cooking and prevents overflow.
If sticking is an issue, silicone muffin trays work better than metal ones and make removal much easier.
Variations
These mini quiches are highly adaptable and can be customized to suit different tastes and dietary needs.

For a dairy-free version, use plant-based milk and skip the cheese or substitute with dairy-free cheese alternatives.
If you prefer a low-carb option, stick to vegetables and protein while avoiding starchy add-ins.
You can also create themed variations—such as Mediterranean with spinach and feta, or a meat-lover version with bacon and sausage.
For extra flavor, try adding herbs like thyme, oregano, or chives.
What to Serve With It
Gluten free mini quiches pair well with light and fresh sides. A simple green salad or fruit salad balances the richness and makes the meal more complete. For breakfast, they go perfectly with toast alternatives or smoothies.
If serving at a brunch, combine them with other small dishes like yogurt, pastries (gluten free), or fresh juices for a well-rounded spread.
Storage & Meal Prep
These mini quiches are excellent for meal prep.
Store them in an airtight container in the refrigerator for up to 4 days. Reheat in the microwave for about 20–30 seconds or in the oven for a better texture.
They can also be frozen. Wrap individually and freeze for up to 2 months. Reheat directly from frozen or thaw overnight in the fridge.
Common Mistakes
Adding raw vegetables without pre-cooking can release water during baking, leading to soggy quiches.
Overbaking can make them rubbery. Remove them as soon as the centers are set.
Using too many fillings compared to the egg mixture can cause the quiches to fall apart.
Not greasing the pan properly often results in sticking, making them difficult to remove.
FAQs
Are these mini quiches really gluten free?
Yes, since they don’t use a crust, they are naturally gluten free.
Can I make them ahead of time?
Absolutely. They store well and are perfect for meal prep.
How do I know when they’re done?
The centers should be set and no longer jiggly when gently shaken.
Can I freeze mini quiches?
Yes, they freeze well and can be reheated later.
What’s the best cheese to use?
Cheddar and mozzarella are popular, but you can use any cheese you like.
Can I make them without dairy?
Yes, substitute milk and cheese with dairy-free alternatives.

Gluten Free Mini Quiches
Ingredients
Equipment
Method
- Preheat oven to 375°F (190°C). Grease a muffin tin well or use silicone liners to prevent sticking.
- Chop vegetables and cook any raw ingredients like bacon or mushrooms beforehand to remove excess moisture.
- In a bowl, whisk eggs, milk, salt, pepper, and optional spices until smooth.
- Evenly distribute fillings into each muffin cup, then pour the egg mixture over the top, filling about ¾ full.
- Sprinkle shredded cheese on top of each mini quiche.
- Bake for 18–22 minutes, or until the centers are set and the tops are lightly golden.
- Let the quiches cool for 5 minutes before removing from the pan.
- Serve warm or at room temperature.
Video
Notes
- Avoid overfilling with vegetables to prevent soggy quiches.
- Pre-cook high-moisture ingredients like mushrooms or spinach.
- Use silicone muffin molds for easy removal.
- These are naturally gluten free as no crust is used.
- For extra fluffiness, whisk eggs thoroughly to incorporate air.