
Chocolate Covered Nuts Recipe (Simple, Crunchy, and Dangerously Snackable)
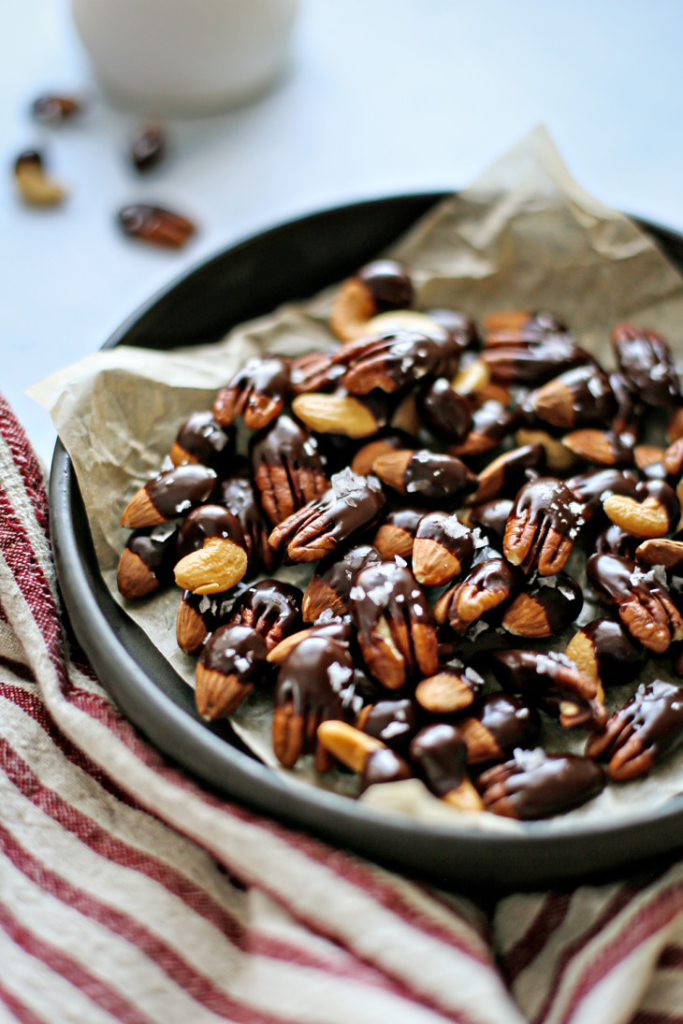
Chocolate covered nuts are one of those snacks that look fancy but are shockingly easy to make. They hit that perfect balance between sweet and salty, crunchy and smooth. No baking, no special equipment, and no complicated techniques—just good chocolate, good nuts, and a little patience while they set.
This recipe is intentionally minimal and controlled. The goal is clean flavor, not a thick candy coating that overwhelms the nut. When done right, you get a thin shell of chocolate that snaps lightly and gives way to a roasted, crunchy center. That’s what makes these addictive. They work just as well for everyday snacking as they do for gifting or party trays.
Why This Recipe Works / Why People Love It
This recipe works because it doesn’t overcomplicate something that’s already good. Nuts bring texture and richness. Chocolate brings sweetness and structure. When you keep the coating thin and the chocolate properly melted, the result feels polished instead of messy.
People love chocolate covered nuts because they’re versatile. You can change the nut, change the chocolate, adjust sweetness, or add toppings without rewriting the recipe. They also store well and feel more intentional than store-bought candy.
Flavor and Texture You Can Expect
The flavor depends on your choices, but the balance stays consistent. Dark chocolate gives bitterness and depth, milk chocolate is softer and sweeter, and white chocolate leans creamy and rich. The nut flavor still comes through because the coating stays light.
Texture is crisp and satisfying. You get a clean snap from the chocolate followed by a solid crunch from the nuts. No stickiness. No thick candy shell.
Ingredients
Chocolate covered nuts rely almost entirely on ingredient quality. With such a short list, shortcuts are obvious. Nuts provide crunch and richness. Chocolate forms the coating and needs to melt smoothly. A pinch of salt enhances sweetness and balances flavor. Optional toppings add contrast but should stay subtle.
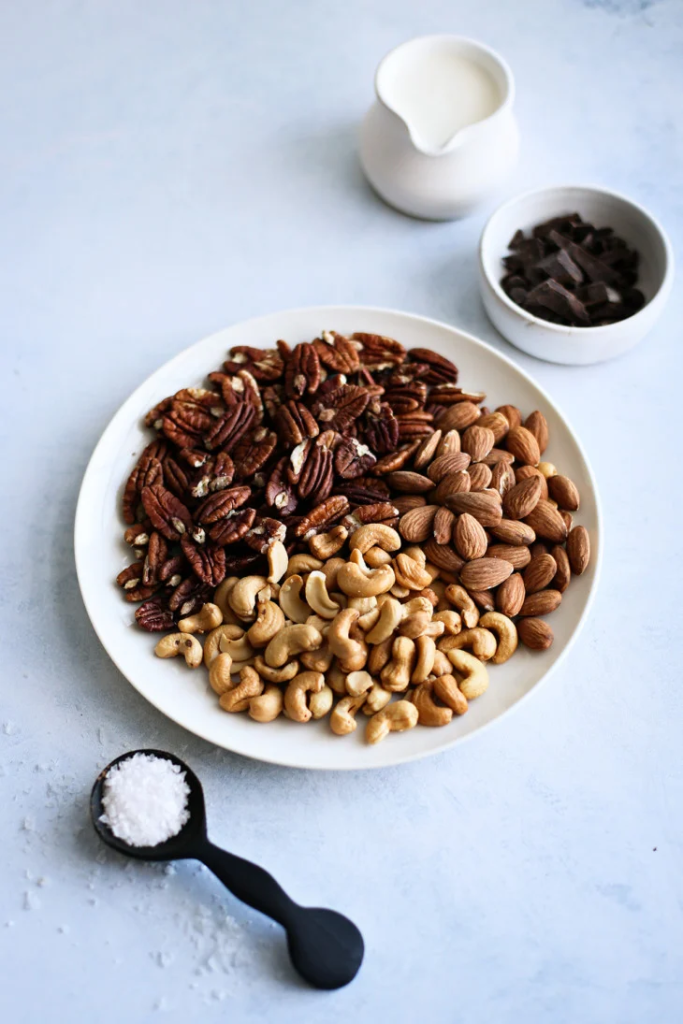
- Raw or roasted nuts (almonds, peanuts, cashews, pecans, or mixed)
- Chocolate (dark, milk, or white)
- Optional: flaky sea salt, cocoa powder, cinnamon, or shredded coconut
How to Make Chocolate Covered Nuts
Step 1. Prepare the Nuts
If using raw nuts, lightly roast them first for better flavor and crunch. Let them cool completely before coating.
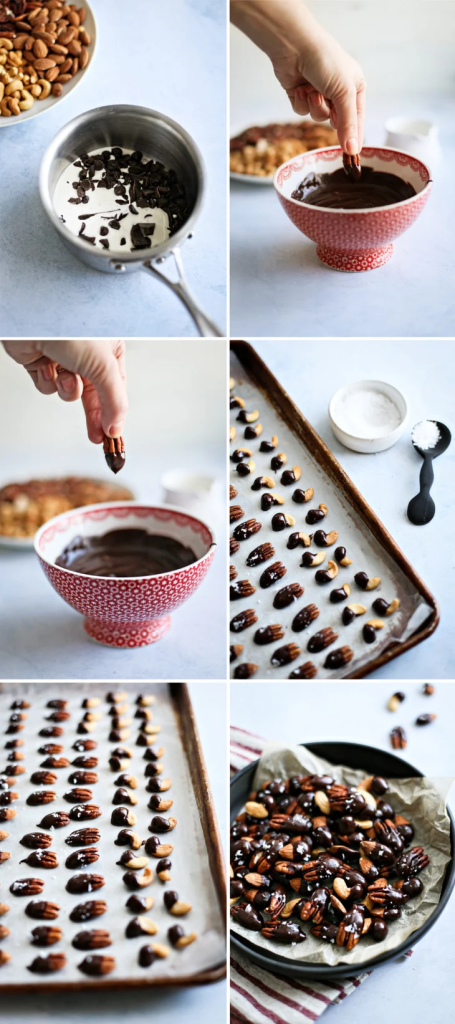
Step 2. Melt the Chocolate
Chop the chocolate and melt it gently using a double boiler or microwave in short intervals, stirring frequently until smooth.
Step 3. Coat the Nuts
Add the nuts to the melted chocolate and stir until evenly coated. Work efficiently to avoid thick buildup.
Step 4. Separate and Set
Scoop the coated nuts onto a parchment-lined baking sheet, separating them so they don’t clump together.
Step 5. Add Toppings
While the chocolate is still wet, sprinkle lightly with sea salt or other toppings if using.
Step 6. Let Them Set
Allow the nuts to set at room temperature or refrigerate briefly until the chocolate is firm.
Step 7. Store Properly
Once set, transfer to an airtight container.
Best Nuts to Use
Almonds and peanuts are the most common because they hold shape and crunch well. Cashews give a softer bite. Pecans are richer but more delicate.
Avoid nuts with excess oil or seasoning—they interfere with chocolate adhesion.
Chocolate Options Explained
Dark chocolate (60–70%) gives the best balance and clean snap. Milk chocolate is sweeter and softer. White chocolate is richer and more fragile when setting.
Use real chocolate, not candy coating, for best flavor.
Storage Tips
Chocolate covered nuts keep well for up to two weeks at room temperature in a cool, dry place. Refrigeration extends shelf life but may dull the snap slightly.
Avoid heat and humidity—they cause blooming and softening.
Common Mistakes to Avoid
Overheating chocolate causes graininess. Using warm nuts melts the coating. Overloading chocolate leads to thick, uneven shells.
Thin and controlled always wins here.
FAQs
Can I use any nut?
Yes. Just adjust roasting time and handling for delicate nuts.
Do I need to temper the chocolate?
Not required, but tempering improves shine and snap.
Can I mix different nuts?
Absolutely. Mixed nuts work very well.
Are these good for gifting?
Yes. They store and travel better than most homemade sweets.
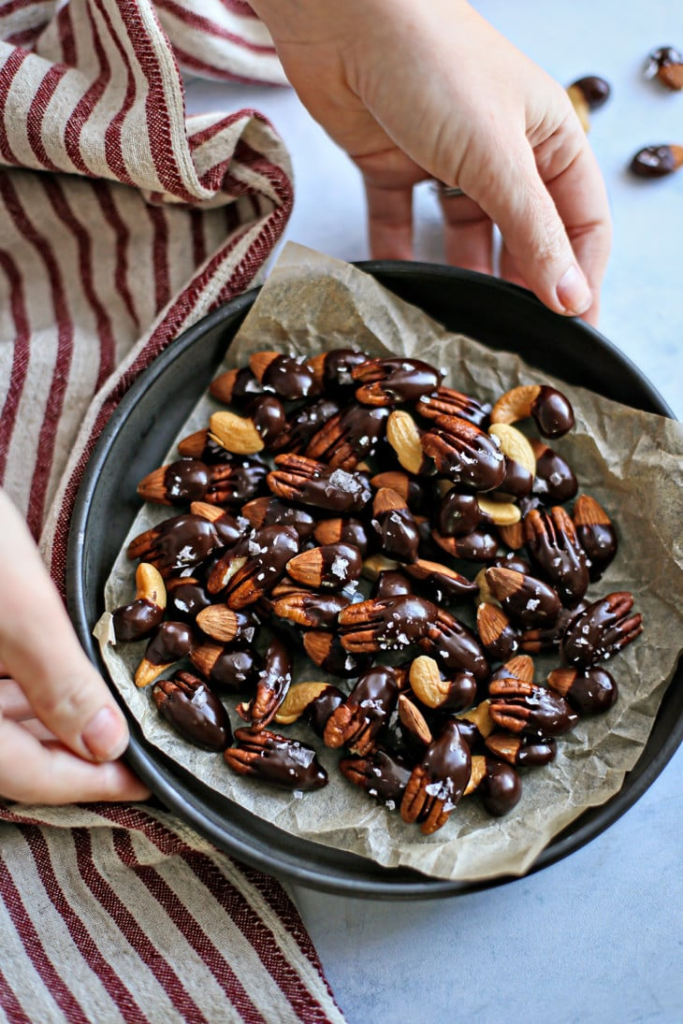
Final Thoughts
Chocolate covered nuts are proof that simple snacks can still feel intentional and satisfying. When you focus on quality ingredients and keep the coating light, you get something that tastes better than store-bought and takes almost no effort.
This is the kind of recipe that quietly becomes a habit—because once you make them once, you’ll keep making them.

Chocolate Covered Nuts
Ingredients
Equipment
Method
- If using raw nuts, lightly toast them in a dry skillet or oven until fragrant. Let cool completely.
- Melt the chocolate gently using a double boiler or microwave in short intervals, stirring until smooth.
- Add nuts to the melted chocolate and stir until evenly coated.
- Spoon the coated nuts onto a parchment-lined baking sheet, separating them to prevent clumping.
- Sprinkle with sea salt or other toppings while the chocolate is still wet, if desired.
- Let the nuts set at room temperature or refrigerate briefly until the chocolate is firm.
Video
Notes
- Make sure nuts are completely cool before coating to avoid melting the chocolate.
- Dark chocolate (60–70%) gives the best balance of flavor and snap.
- Store in a cool, dry place to prevent melting or blooming.